
Smart display
What is a smart display and why do you need one in your life?
Kulwinder Singh Rai

Got a Google Nest hub? Find out how to get started with our guide.
The Google Nest Hub smart displays are bursting with features and functions – they can tell you the weather, show you your calendars, enable you to control your smart-home devices, look up facts online and much more besides.
Before you get to all that good stuff, though, you need to set up your Google Nest Hub. Fortunately, it’s not a complicated or lengthy process.
You’ll be guided through it by the prompts on the screen of your Google Nest Hub, and through the Google Home app that you can install on a smartphone or tablet. If you’ve previously set up a Google Nest device, then you’ve already done some of the work.
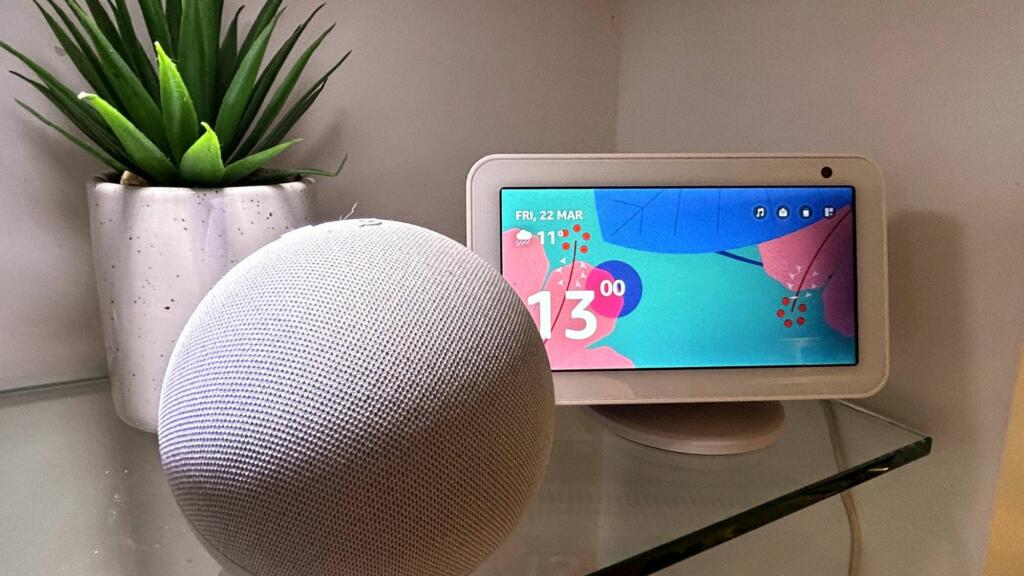
 Credit: David Nield
The Google Nest Hub smart displays are bursting with features and functions – they can tell you the weather, show you your calendars, enable you to control your smart-home devices, look up facts online and much more besides.
Before you get to all that good stuff, though, you need to set up your Google Nest Hub. Fortunately, it’s not a complicated or lengthy process.
You’ll be guided through it by the prompts on the screen of your Google Nest Hub, and through the Google Home app that you can install on a smartphone or tablet. If you’ve previously set up a Google Nest device, then you’ve already done some of the work.
Credit: David NieldHere, we’re going to take you through the process step by step. This guide was written using a second-generation Google Nest Hub, but the procedure is very much the same on other models.
You will need the Google Home app on either your phone or tablet to help you set up the Google Nest Hub.
 Credit: David Nield)
Once you’ve got your Nest Hub and its power adapter out of the box, peel off the protective film on the Nest Hub screen, then connect it up to a power socket.
You’ll be met with a cheery welcome message and a prompt to download the Google Home app to a smartphone or a tablet.
 Credit: David Nield
 Credit: David Nield
From inside the Google Home app, tap Devices and then Add to add a new device – in this case, the Nest Hub. It should be automatically detected by the app, and you can then use your smartphone or tablet camera to scan the QR code shown on your Nest Hub.
 Credit: David Nield
As you work through the setup steps, you’ll need to put your Nest Hub in a room for easier organisation. If the room the device is in doesn’t appear in the list, tap Create new to add a new one.
 Credit: David Nield
You’ll also be asked to connect the Nest Hub to a wi-fi network, which you’ll need to provide the password for. This means the Nest Hub can download updates and look up information online.
 Credit: David Nield
After that’s done, you may be asked to set up Google Assistant, if you haven’t already done this on your smartphone or another gadget. You can also choose to enable Voice Match, which means the Nest Hub can tell when you’re talking to it as opposed to anyone else. This can help if multiple people are going to be using the Nest Hub, each with their own contacts, Google Calendars, and so on.
 Credit: David Nield
If you want to be able to access personal results on the Nest Hub – so that covers everything from your reminders to your schedule to your YouTube recommendations – you can turn this on in the next step.
This works in tandem with Voice Match, which we mentioned above, and if Voice Match is enabled then other people won’t be able to get at your personal results through the Nest Hub.
 Credit: David Nield
The Google Home app will then ask you to set up the various features offered by your Nest Hub. With the second-generation Nest Hub, for example, this includes sleep tracking and gesture control.
If you’d rather do this later, tap Not now; otherwise, tap Next to continue through the process.
 Credit: David Nield
The screens you’ll see next will depend on which features you’ve chosen to set up, so if you want to use hand gestures for the second-generation Nest Hub, you’ll need to agree that the device can watch out for your gestures.
The app then shows you a few key tips for the Nest Hub, such as where the mic control is.
 Credit: David Nield
The Google Nest Hub then offers to take you through a tour of the interface, and we’d recommend that you complete it. You’ll learn about how to swipe through different screens on the display, how to access its settings and more.
 Credit: David Nield
After that, your Nest Hub is ready to use, but you can go back to the Google Home app and set up more features whenever you like.
Just tap Devices and then the name of the Nest Hub – which is usually the room it’s in followed by ‘Display’. To change this name, tap the cog icon (top right), then Device information, then Name.
 Credit: David Nield
All other device settings, including those you configured during setup, can be found by tapping the device name in Google Home, then the cog icon at the top of the screen. You can choose which app notifications appear on the device, for example.
 Credit: David Nield
If you’re using a second-generation Nest Hub, you can tap Sleep Sensing on this screen, then follow the instructions on screen. You’ll need to calibrate the device and set up a sleep schedule that you want to try and stick to.
 Credit: David Nield
Some other settings, including the music and video apps you can use on the Nest Hub, are found in a different place inside the Google Home app.
From the app’s front screen, tap Settings (lower right) and then pick either Video or Music to set up services such as Netflix, Disney+, Spotify and Apple Music. These services then work across all the Google Nest devices you’ve got running.

Written by David Nield
Published:
Dave is a freelance tech journalist who has been writing about gadgets, apps and the web for more than two decades. Based out of Stockport, England, you’ll find him covering news, features and reviews, particularly for phones, tablets and wearables.
David has by-lines at leading publications including TechRadar, Wired, The Guardian, Gizmodo, T3, PopSci and a few other places besides, as well as many years editing the likes of PC Explorer and The Hardware Handbook.
When he’s not busy writing, he enjoys watching football and long walks in the countryside.
Kulwinder Singh Rai
David Nield

Jayne Cherrington-Cook

Jayne Cherrington-Cook