

Interior Design
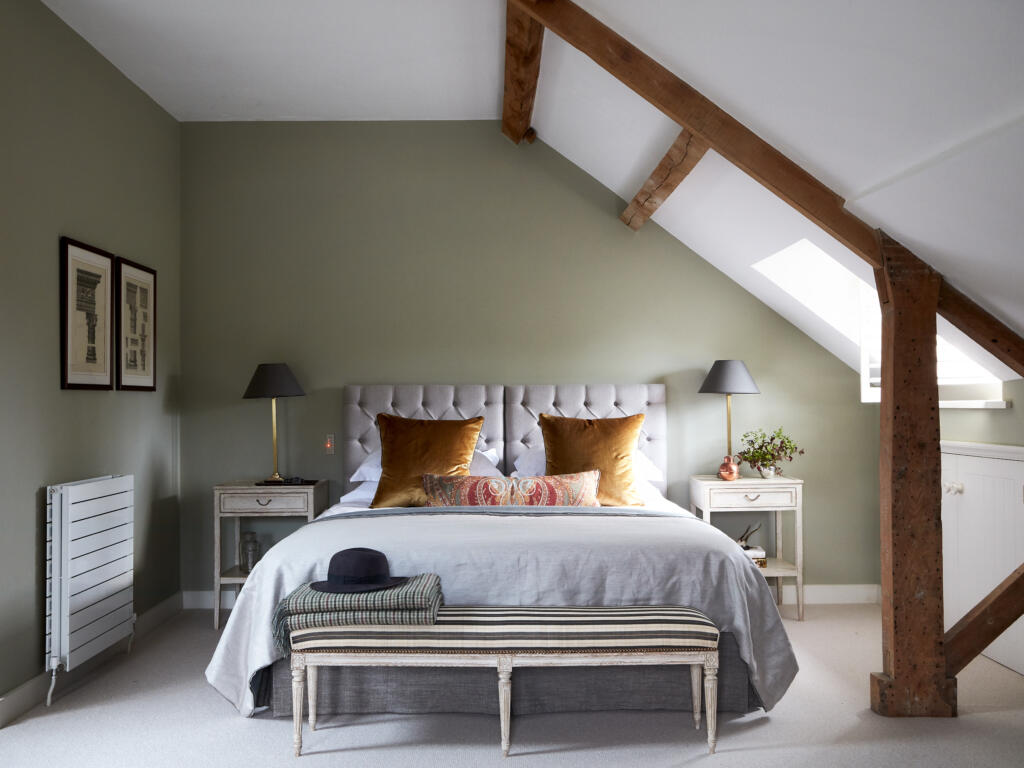
The best bedroom colours for a good night’s sleep
Joy Archer

Transform your home into a haven with these simple and practical ideas
The sun is out in force, but that’s no reason to neglect the inside of our homes. With the house likely to be busy with visitors over the summer, there’s always a good reason to make improvements.
That said, who wants to spend endless hours indoors tackling tasks when the weather is finally getting good? We want to spend a few hours, max, making changes here and there that quickly improve the quality of our home lives.
 Credit: Shutterstock / nito
That’s where this round up of quick and easy DIY projects comes in – one idea will save you from scruffy wall corners forever and it won’t take you more than a few minutes if you’re handy with a screwdriver.
Want to transform your walls all together? Then read on and try your hand at some simple but dramatic panelling, or pick up a paint brush and add height to your low-ceiling room with a simple painting trick.
Then throw your gorgeous front door open (we’ve got this covered too) and invite the world into your home in the confidence that it’s the best it can be.
 Credit: Bespoke Front Door / Farrow & Ball
Your front door holds the power to make or break your property. Research even shows that a freshly painted door in the perfect crowd-pleasing hue can push up your property price.
Door painting experts Bespoke Front Door coated this one in Farrow & Ball’s Stiffkey Blue, as it “makes an impactful statement to passers–by and visitors alike”.
Stiffkey Blue Modern eggshell Emulsion, Farrow & Ball'
RRP: £35 per 0.75ltrs

Want to pay less for your front door transformation? Check out ‘7 easy ways to save money on paint for your next project’.
 Credit: Wayfair
Dreaming of a bedroom with a marvellous vista but stuck with an uninspiring view through your window? We suggest you follow the lead of this Wayfair design and fake that bucolic scene with some graceful butterflies and birds.
Enjoy the view.

 Credit: Etsy / CrtvPrinting
 Stairs and risers are often left out of the fun when it comes to decorating. If you are considering transforming your stairs, this is a project you can do in no time. And the best part? You can change your stair riser theme according to the seasons – have spring flowers in spring and opt for icicles in the winter.
Choose stair riser decals that come in strips. Suppliers like CrtvPrinting at Etsy and Wayfair supply them in a range of style and sizes. Make sure when you order that the height corresponds to the height of the stair risers. Trimming can be tricky, particularly on the horizontal, so it’s best to avoid it where possible.
 Credit: Carpetright
Floors are the foundation of any room’s décor – if they are ho-hum, the rest of the room will follow. Vinyl flooring, with its world of pattern choices, is a perfect antidote to dull, unimaginative floors.
You’ll find a range of style options at Carpetright and B&Q. Measure the length and width of the room before purchase.
If approached right, vinyl sheet flooring is easy to lay and can be done in one sheet. Just remember, you will be spending time on your knees with this particular DIY task.
 Credit: Stair Rods
Vacuuming can be a bore at the best of times, but when you bang into the corners of your rooms, this task can create an additional headache. The edges of skirting boards and storage furniture are vulnerable to the most damage – scruffy nicks and scuffs can make them look raggedy over time.
Protective corners – or skiffers – are the solution to corner damage. And the hardest part of this DIY task is choosing what style and material you will select for your skiffers. Choose from anything from polished brass to pewter from suppliers such as Stairrods and Broughtons.
All you’ll need to do is screw your skiffers in place using the screws that are provided with your selection.
 Credit: Rebel Walls
Jungle Land Vintage Peel-And-Stick Wallpaper, Rebel Walls
RRP: From £39.60 per sq m
When it comes to easy DIY takes that combine ease and jaw-dropping results, peel-and-stick wallpaper is in a league of its own.
Once upon a time, wallpaper décor glamour came at a hefty price – and the cost of the paper was the least of it. After you factored in labour, time and mess, it was enough to put anyone off. Not any more.
Before you order your wallpaper, check what the manufacturer says about the type of wall it will adhere to – smooth generally works best. If in doubt, buy 15% more wallpaper than you think you need – you might need to factor in windows, doors, alcoves, and trimming the top and bottom.
Sponge the walls down with a damp cloth – you’ll need to allow 24 hours for the walls to dry completely.
Measure up the wallpaper as per the manufacturer’s instructions, making any necessary line marks. Peel away the wallpaper’s backing and, working from the top down, apply to the walls. You may want to use a smoothing tool from your DIY store to stop any air bubbles from forming.
If your wallpaper is patterned, make sure to line up the patterns by ever-so-slightly overlapping the piece you are applying with the previous join.
Our favourite suppliers of peel-and-stick removable wallpaper include Rebel Walls, Spoonflower and Graham & Brown.
Rebel Walls is also a great resource for handy step-by-step videos of how to apply your stick-and-paste wallpaper.
 Credit: Purlfrost
Have a less than stellar view out of your window? Have an overly zealous neighbour who can’t help nosing into your private space? Sunlight streaming through your window with fabric fading fast?
Decorative glazing films can be the answer to all these problems – and they are easy to apply and look great to boot. Quickly apply them to your windows and doors and ramp up that kerb appeal in minutes.
Decorative window films in a range of patterns are available from brands like Purlfrost and Lustalux.
Purlfrost again gives you more detailed information on how to apply your film, along with handy illustrations.
Discover the one window film tip that helps to save the billions of birds that die every year due to glazing collisions. Suppliers like Fruugo supply film that is designed to be used externally to prevent bird collisions. Purlfrost decorative films may be used externally, though this may reduce the life of the product.
 Credit: The Library Ladder Company
Want your walls to go from ‘Plain Jane’ to ‘Lord of the Manor’ in an afternoon? Easy DIY panelling might just be the sophisticated answer you seek.
You’ll need to store your panels and adhesives at room temperature for 24 hours before applying to your wall. Walls will need to be clean and flat – sand down any imperfections, remove any dust, then wipe down the surface with a damp cloth.
Your panel supplier is always on hand to supply more details on how to apply the specific product you have chosen.
 Credit: Zebedee Any Angle Rails Ltd
A bank holiday offers the perfect opportunity for a good declutter. Once you’ve sorted through your belongings, it makes sense to reorganise what remains.
Thankfully, there are plenty of innovative products that make the most of even the most awkward areas of your home. Take this ‘Any Angles’ rail, which is, according to designer Diane Challender, “no harder than fitting a curtain rail” when attaching to wood.
If fitting into plasterboard, then ideally you need to surface mount a strip of wood first and then fit to that.
For a more complete overview of hanging the rails, along with illustrations, view the Zebedee guide to measuring and installing the rail.
 Credit: Annie Sloan
Vertical lines are just dandy for making walls seem taller, so if you have a low bedroom ceiling, this easy DIY project could be just the visual remedy.
Before the paint fully dries you will need to remove the tape carefully, to avoid chipping.

